You might have an excellent program in justcoach, but it’s not going to generate sales unless you know how to sell it.
There are so many different ecommerce solutions, it can become overwhelming, and time consuming. I'm in your shoes…as a fitness coach and owner of a successful gym, I understand you have other priorities…
But you're in luck…not so long ago, I was a WordPress digital nomad, travelling the world creating 100s of awesome solutions for businesses.
Here, I will be passing on some of that knowledge to help you shortcut the pain of getting started. To be honest, all you need to know is where to start, the rest is easy.
So let’s get you started.
The basic formula to automate the selling of a program is:
In this video (above), I’m going to walk you through how to sell a one-off program in WordPress, using free software and Stripe's free services, to streamline an automated ecommerce solution.
How to Sell Your Program With WordPress and Stripe
Check out this quick summary of the video guide, INCLUDING bonus guides for WooCommerce, Easy Digital Downloads, and non-WordPress options.
Step 1: Create Your Program
Step 2: Create a Sales Page
Step 3: Download and Install Stripe Payments
For this demo we are using Stripe Payments for WordPress. This plugin is developed by a verified Stripe partner. Making it a top choice for our demo.
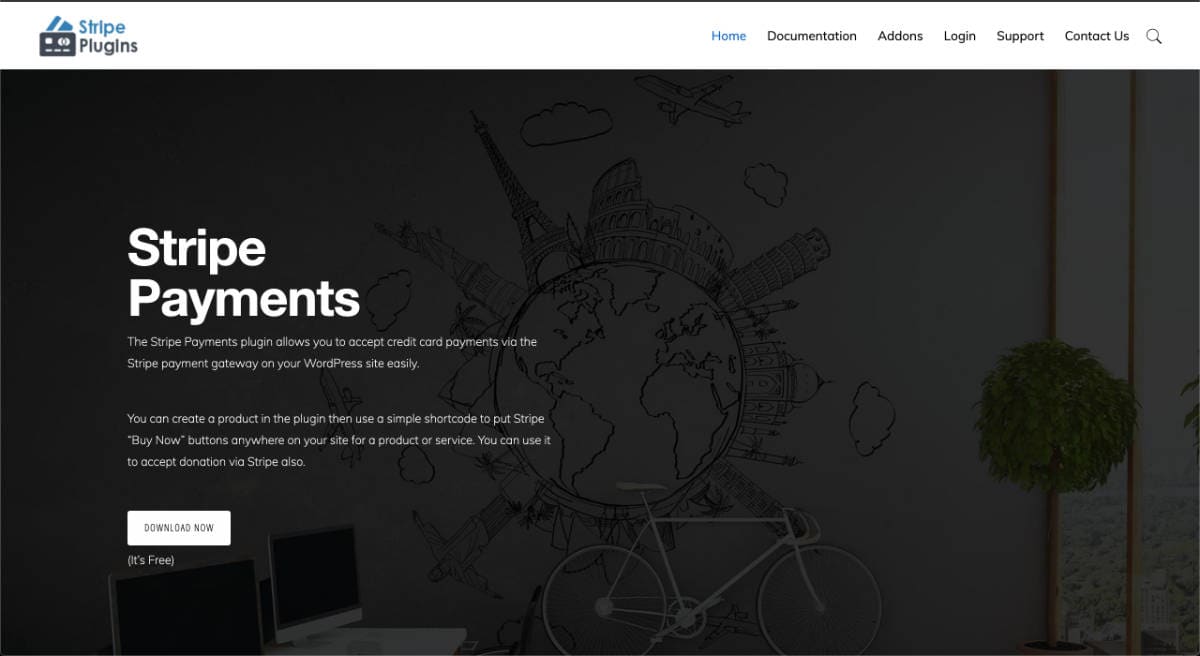
Run through the setup guide documentation to install your Stripe account and get up and running.
Step 4: Create Success Page(s)
In WordPress create a new page.
This will be your success page for your program, so naming it inline with your program is a good idea. For example:
"Success: The Improve Your Sleep Program"
Next, open the public url you created earlier for your program, click Join and copy the invitation.
Paste the invitation into the body of your success page.
You can create a custom message or use the done-for-you invitation.
From experience, this page will be viewed mostly on a desktop, so remove the app URL, but keep the PIN code.
Save your work.
At the moment, this page is viewable to anyone with access to the url. So we need to restrict this information to customers only. Let change that…
Jump over to the Stripe Payments documentation page.
This helpful guide explains more about customising the thank you email and success page. We will use WordPress Shortcode to help restrict our PIN to our customers…
Copy this Shortcode:
Jump back to your success page in WordPress.
Add a new Shortcode block (pro tip: type "/shortcode" in a text box, then press enter to quickly add a Shortcode block).
Paste the Shortcode into the input box. Then scroll to the end of the page and add another Shortcode block. Copy and paste the Shortcode from below.
This will set our content within a restricted “customers only” page.
Save your work and view the page.
Copy the URL for this page from your web browser.
Step 5: Create Your Product
In WordPress click the menu item:
Stripe Payments > Add New Product.
Enter the name of your product (the name of the program).
Scroll down to find more options.
In 'Price & Currency', enter the cost of your program (the sale cost, if you are offering a discount), and select your currency.
Next, click 'Thank You Page URL'. Paste the URL pointing to your success page.
Save your work.
Still on this page, on the far right you will see 'Embed Product'.
Copy the Link URL.
Jump back to your sales page.
Scroll to the bottom of your sales page to find your strong call-to-action button.
Paste the product link to your button.
Click the update button to save your page.
Finished
When your customer buys your program, they are sent to a success page showing them the PIN code for your program, with instructions. This is only visible to them.
You can choose to add as much or as little info to this page as you like. It’s worth noting that this method is designed to protect the joining PIN, so your customer won’t get a copy of the PIN in their email receipt.
This is a high converting version of how you can sell a program from your website, because we can take credit cards directly on our sales page.
For different methods - sending the PIN code or URLs via email - you can use software such as WooCommerce or Easy Digital Downloads (guides below).
Bonus:
WooCommerce Quick Guide
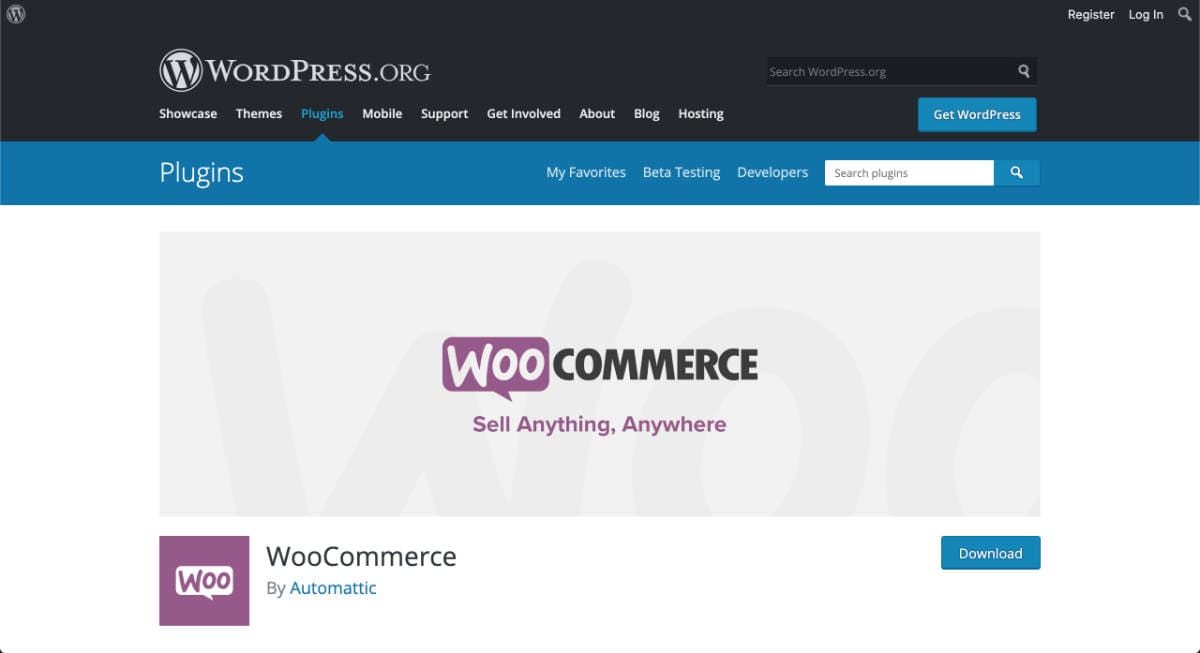
WooCommerce is one of the most popular WordPress ecommerce solutions, because it's developed by the team behind WordPress.
You can add several payment processors for free, such as PayPal Express and Stripe.
In this super quick ‘How-to’ guide I’ll explain where you can find the tools to send your program PIN code once a customer buys your product.
Following the similar steps as in our original tutorial, you’ll need a product for your program. Make sure this product is set to 'Virtual'.
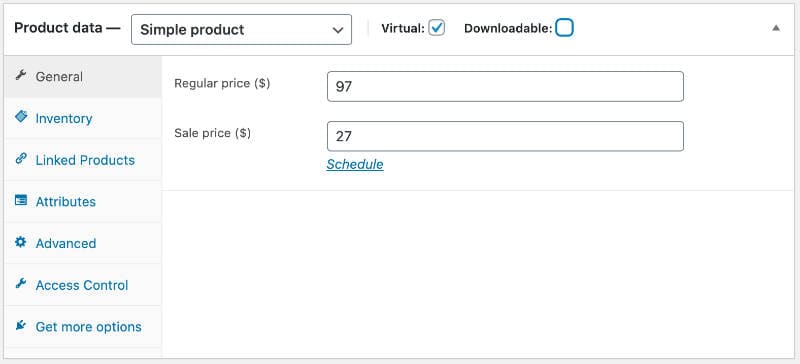
Next, click Advanced. You’ll see a cool little feature named Purchase notes.
Paste the program joining invitation there. You can leave the app url because this note will go to our customers email.
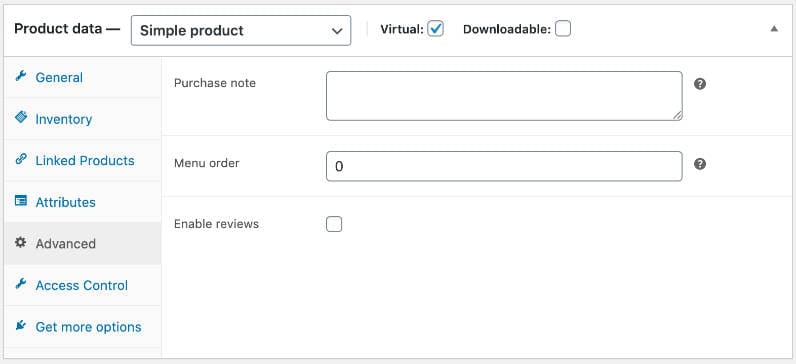
Save your product.
The problem with WooCommerce is that your customer has to complete lots of steps before reaching the checkout. Thats gives them plenty of opportunities to abandon the cart.
To help minimise this, follow these easy steps:

Next, head to your sales page > find your strong call-to-action button, and add this URL:
Replace "yourdomain.com" with your website address and replace the XX with the product code found in your admin product URL (here is an example):

Customers who click your call-to-action button will get redirected to the checkout page, thus increasing your conversion rate.
Easy Digital Download (EDD) Quick Guide
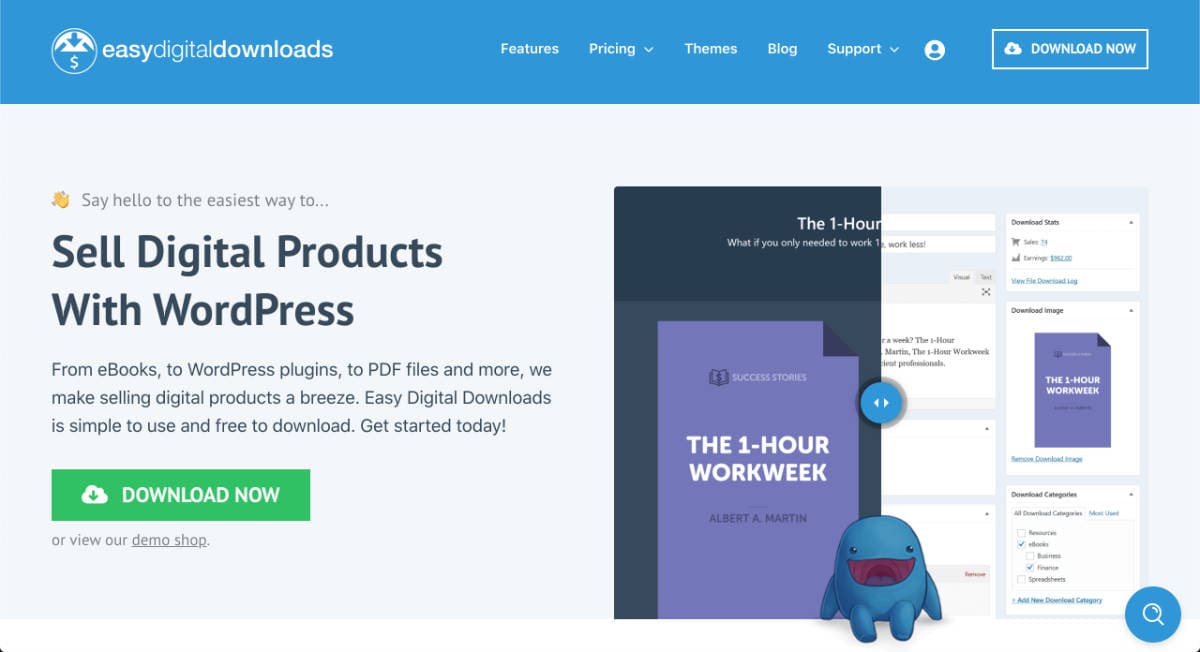
Easy Digital Downloads is one of my favourite bits of kit for WordPress.
You can sell any type of digital product. In this case, we can easily sell our program.
EDD comes with PayPal checkout as standard, so you will need to upgrade to a paid plan to include Stripe.
Follow the tutorial from earlier; creating your program and designing your sales page.
Next, add a new product in EDD.
Enter your program name and cost.
Scroll down to find the input field 'Download Notes'.

Paste your public URL invitation here.
Save your work.
Service Add-on Plugin
When a customer buys a product using EDD, which is not a download, they will encounter a warning message, similar to "no downloadable files".
To remove this, install the official Downloads As Services plugin. This will give you a new checkbox in the right sidebar that will remove the warning label for your customer.
How to Skip The Checkout to Increase Conversion
We can use the EDD button Shortcode to sell the program, which will take us to a cart or checkout.
However, I have an insider trick for you to by-pass the cart AND checkout to take your customer directly to PayPal. This will increase conversion by 10-20%.
Here it is:
Replace ‘yourdomain’ with your website.
Replace XX with the product ID, which you can find in the admin product URL (example below).

Now you can add that url to the sales page button to direct your customers straight to PayPal! On payment confirmation, your customer will receive an email with your joining instructions in the download notes.
Don’t Have WordPress? No Worries…
Not everyone is a WordPress fan, I get it.
There are some great online software solutions that can give you similar results, without getting overwhelmed in WordPress.
We won’t be running through tutorials on these, however I’ll give you the ideas and solutions for you to explore in your own time.
#1 SamCart
If you want a high converting sales page, SamCart has your back. You can create a killer sales page and include your program invitation or PIN in both a success page and thank you email.
#2 Common Website Builders
If you have an ecommerce account with Squarespace, WIX, Weebly or any other SAAS provider (website builder), all you need to do is paste your invitation or program PIN code in to your product receipt; or sign up email.
It’s as simply as:
#3 Email With Campaignzee
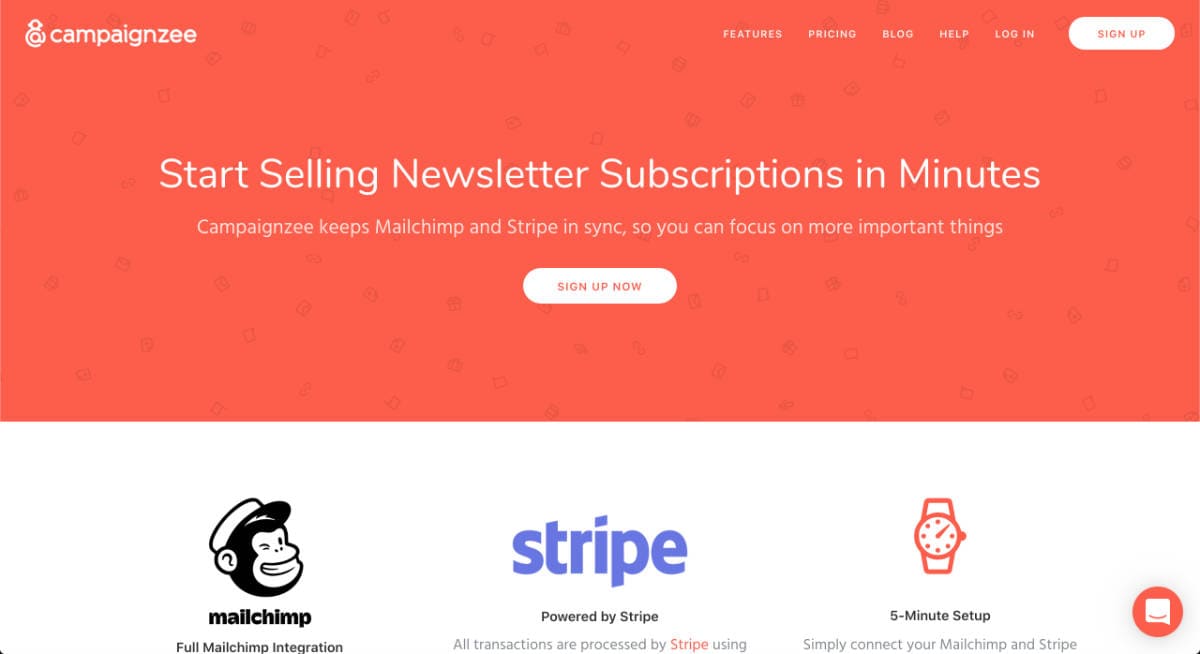
You can always send your PIN codes via email, using autoresponders.
Here is an example on how to integrate payments into email without lots of software.
By integrating Mailchimp with Campaignzee, a cool service that lets you charge customers to join a Mailchimp list (using Stripe), you can streamline your sales via email.
If a customer unsubscribes or cancels payment, Campaignzee will cancel everything for the customer.
Campaignzee charges 10% of whatever you charge your customer; Well worth the investment for them to handle sign ups and cancellations.
All you need is a simple webpage to add the Campaignzee registration form.
If you work fast, you can have this setup in 10 minutes.
Learn more about how this works with their how to start selling subscriptions guide.
Let us Know What You Think!
Which one is your favourite? Which one delivers the best results for you? We love hearing feedback and your suggestions, so please drop a comment in our Facebook Group or reach out directly.

